
Afternoon Projects: Organizing My Sewing Bin
December 22, 2015 • No comments • afternoon projects • DIY • Love Live
 |
| So messy! |
 |
| Sorted into piles. The piles from left to right: Scraps to keep, notions/tools, scraps to toss (two paper bags), and bolts of fabric. |
My first step was to take everything out of the bins and put it into piles- one for fabric, one for scraps, one for notions/sewing tools, and one for garbage. I was amazed to find how many tiny worthless scraps I had held onto over the years. What did I think any of these scraps would ever be useful for!?
I found the hardest part of this process to be deciding what to toss and what to keep, what to file as fabric and what to file as scraps. The criteria I ended up mostly sticking to was, if it's big enough to make a shirt out of, it's fabric. If it's smaller and I could make a cute bow out of it, then it's scraps, and if it's too small or ugly for even that much, then I toss it. It actually helped to streamline my process quite a bit!
 |
| Why in the world did I hold onto all of these useless scraps!? |
After everything was sorted, I began organizing my whole sheets of fabric. Since I live in a very small space, I have no choice but to keep all of my fabric in a bin under my bed, but I knew I wanted all of them to be visible without having to dig through. To achieve this, my goal was to stack the bolts vertically in my bin, but to avoid the fabric folding in on itself and becoming messy after a while, I needed some kind of backing to wrap my fabric around to keep it straight and tidy. Thankfully, my building happens to go through many cardboard boxes every day, so I have a steady supply of recycled cardboard boxes to use to this end! I measured the depth and width of my bin and cut out rectangles of cardboard using these dimensions.
 |
| Such hard work... |
After I finished cutting, I took had a nice glass of strawberry tea. Cutting cardboard is hard work!
Getting back to work, I then neatly folded all of my fabric onto the freshly cut bolts and stacked them all in my bin. My technique was to fold the fabric up length-wise to be the same size as the short end of the bolt, then roll the whole thing up wrapping around the long end of the bolt.
It was a lot of work, but the end result looks so nice!
It was a lot of work, but the end result looks so nice!
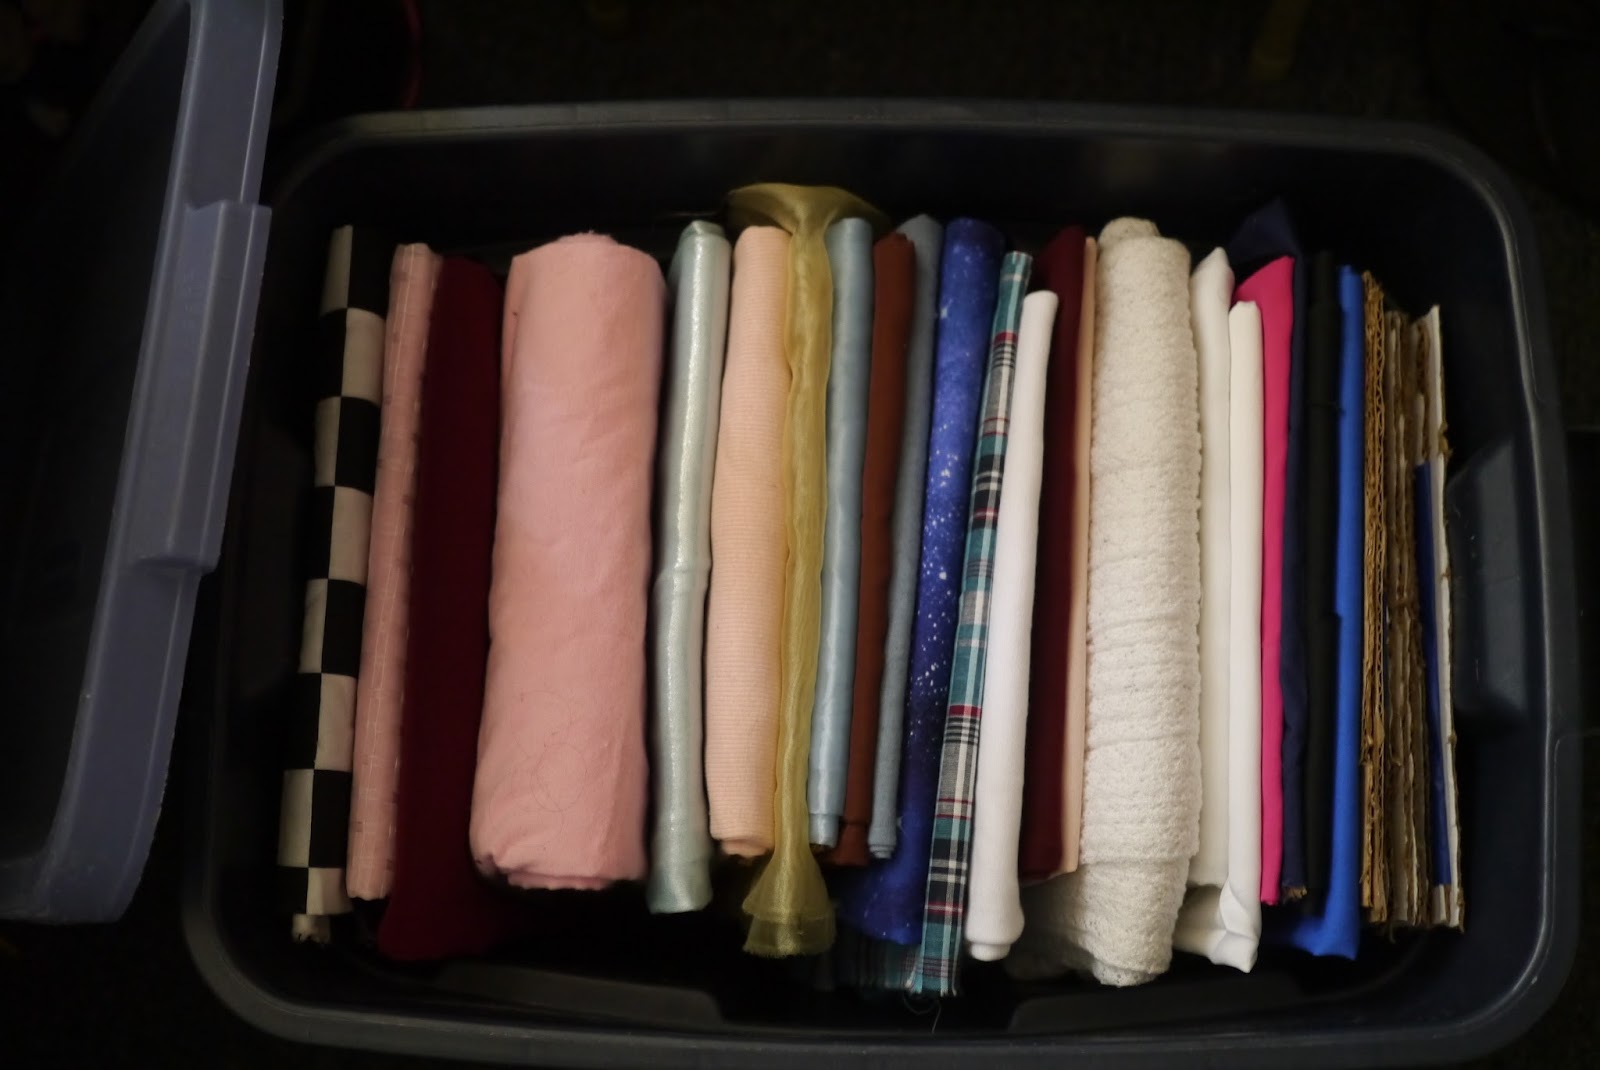 |
| So pretty!! |
It turns out that just organizing my fabric took so long that it was already night-time by the time I finished, so at this point my scraps and notions are still a big jumble. Look forward to part two when I organize these as well! Meanwhile, even if those aren't organized yet, it's a much more manageable mess with the bolts of fabric tamed, and I was able to find my pattern piece!
As a bonus round, here's a picture of how the cosplay actually turned out. Many thanks for MVM Photography for making the photoshoot possible.


Post a Comment